Creating videos and tutorials by recording your computer screen is the best way to explain any application, webinar, tutorial, or anything you want to explain from the computer screen. But how do you make screen recording quality better so you don’t face frame drops and choppy videos? The screen recording quality depends on recording software, graphics card, codec, screen resolution, and some other factors.
There are many free and paid software to record the computer screen both on Windows and Mac. Some of them offer to record and edit the video with different features.
Any good screen recording software would come up with tons of options to record and edit your videos. There should be an option to select the region, quality, resolution, audio, and camera recording at the same time.
But if you don’t select the proper settings on your recording software, video quality may not be good after production.
Are you dissatisfied with the quality of the videos that you capture using screen recording?
More often than not you may find that the video doesn’t look as clear as you’d expect, or it stutters and seems to ‘lag’ at certain points.
Tips To Create High-Quality Videos Using Screen Recorders

The quality of produced videos mainly depends on your recording software and the screen resolution of your computer.
You won’t be able to create 4K videos if your computer screen offers only 1080p or lesser resolution even with the best screen recording software.
Keeping the screen resolution and your recording software in mind, there are many different factors at play that could affect the quality of screen recording videos, the following tips should help you to get high-quality screen recording.
1. Always try to record in full screen
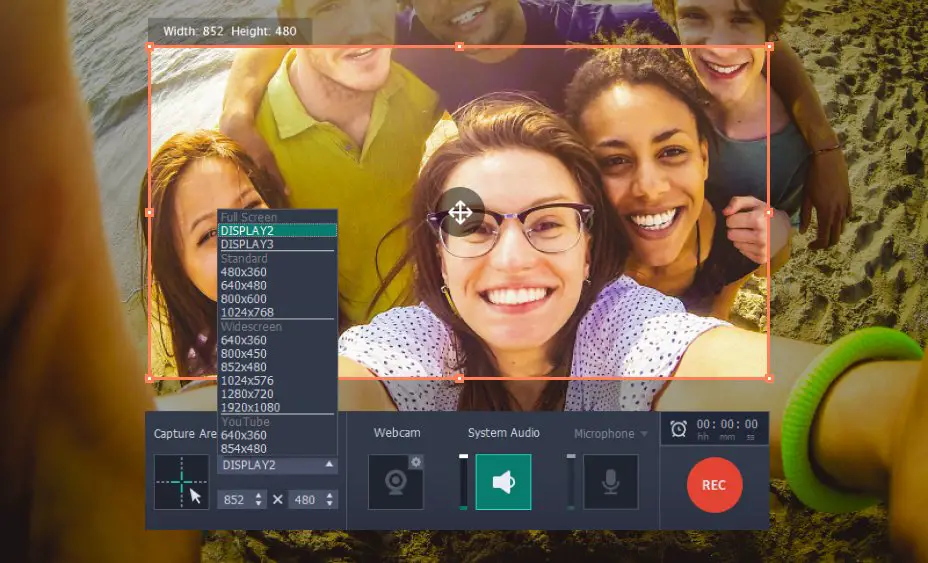
As far as possible, you should try to record in ‘full screen’ – meaning that you should capture the entire area of your display.
To do that, you will want to maximize the window of the software or app that you’re recording or run it in full-screen mode if one is available.
By recording in full screen you’ll be recording in the maximum possible resolution.
That is good for the definition of the video and will make it look clearer and sharper.
The resolution of the video captured using screen recording is the same as the resolution of the frame, so the larger the frame the better the resolution.
2. Increase the frame rate of the recording

As you increase the frame rate of the recording your video will look smoother and any movement in it will look more fluid and clearer as well.
One area in which you’ll be able to immediately notice the difference is the movement of the mouse cursor which will be easier to follow at a higher frame rate.
If you want your video quality to be at its best you should increase the frame rate to 60 frames per second so that it mimics the refresh rate of most displays (i.e. 60Hz).
However recording at high frame rates will require more processing power, and the file size of the video will be much larger as well.
3. Close any apps or background processes that you don’t need

Before you start recording a video, you should try to close any apps or background processes that you don’t require.
The reason this can help is that it will free up system resources (i.e. processing power and RAM), making them available for recording.
Generally recording high-quality videos do require considerable system resources, and depending on your computer’s specifications it may affect its performance.
By freeing up resources you make that less likely to happen, which will help ensure the video quality isn’t affected in turn.
As an added bonus, fewer apps and background processes will make the taskbar area look cleaner – and prevent unwanted notifications from popping-up midway through the recording.
4. Improve the audio quality if necessary

If you’re recording a voiceover for your video using a microphone, you need to pay attention to its audio quality.
Poor quality audio could ruin the overall quality of your video, especially if it is indistinct, crackles, and has lots of background noise.
As a starting point, you should try to use a high-quality microphone to record the audio and not just the built-in microphone on your webcam or headset.
On top of that, you should take other steps to minimize the background noise by recording in a quiet location, turning off unnecessary appliances, and so on.
Of course, if you are just recording the system audio you don’t need to worry so much about the audio quality – and it should be good regardless.
5. Encode the video with the right settings
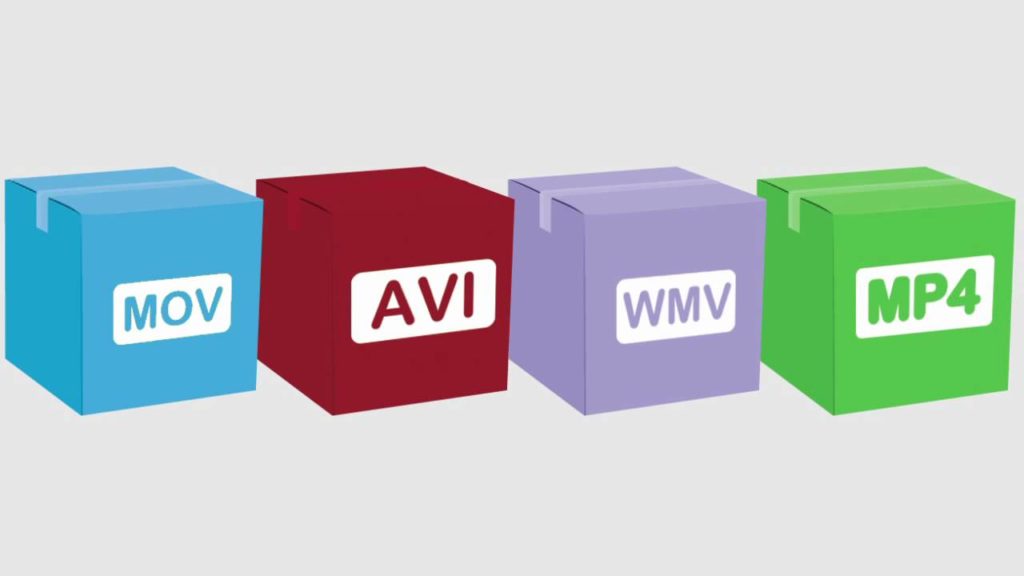
The settings that you use to encode your video can affect its quality.
While you are free to encode the video in any format you require, the frame rate and resolution should be the same as the recording parameters.
On top of that, the video bitrate needs to be high enough based on the format, resolution, and frame rate of the video.
If it is not you can expect to see compression artifacts appear in your video, which will affect its quality.
Make no mistake tips listed above can be used with any software, but the best screen recorder is one that will let you adjust the recording parameters and settings.
Also, you need to keep in mind where you want to upload the video, if you are creating videos for YouTube, then you should select the aspected ratio which would fit the YouTube player.
According to YouTube –
To fit the player perfectly, encode at these resolutions:
- 2160p: 3840×2160
- 1440p: 2560×1440
- 1080p: 1920×1080
- 720p: 1280×720
- 480p: 854×480
- 360p: 640×360
- 240p: 426×240
If you want to upload on Facebook then try creating HD videos, but the Facebook video player adjusts itself to the uploaded video.
Best OBS Settings To Record High-Quality Videos
OBS is a free and open-source tool for streaming and recording but does not offer a video editor. You can use OBS to record the screen for free in high quality but there are some settings you need to change.
Open the OBS settings and go to Output settings- Select the Advanced output option.
In the Recording tab select “Standard Type”
Recording Format – Mp4
Encoder – Select a hardware encoder if you have a good graphics card installed. Or select software encoding x264.
Don’t rescale the output.
Preset – You can select “High Quality” or manually set the parameters.
Rate control method – Constant bit rate (CBR)
Pre-pass mode – Disabled
Target Bit Rate – It depends on the graphics card quality, screen resolution, and system configuration. You can play around with bitrate to get the optimal quality.
Here are some bitrate values for different resolutions and fps on a mid-range gaming PC.
1080p 60 FPS
- Resolution – 1920×1080
- Bitrate – 4500 – 6000 kbps
- Framerate – 60 fps
1080p 30 FPS
- Resolution – 1920×1080
- Bitrate – 3500 – 5000 kbps
- Framerate – 30 fps
720p 60 FPS
- Resolution – 1280×720
- Bitrate – 3500 – 5000 kbps
- Framerate – 60 fps
720p 30 FPS
- Resolution – 1280×720
- Bitrate – 2500 – 4000 kbps
- Framerate – 30 fps
Filter Data – Keep it enabled if frames are dropping, it will put some white spaces.
Keyframe Interval – How many frames do you want in each keyframe? For recording, you can keep it to “5“.
In Advance Tab keep the process priority to “High.”
Watch This Video For More Explanation
All in all, it isn’t that difficult to record better quality screen recording videos – now that you know-how.
In fact the next time you record one you should try using the tips listed above, and you should be able to immediately see the difference in the video quality.
Also Read:-