Is your C drive full? And now you wish to extend the C drive without formatting the storage drive and installing new Windows. Well, most of the time it is quite simple but sometimes you get extend volume greyed out issue in Windows 10.
This is a problem that I myself faced when I installed an SSD on my laptop. I created two partitions and then later I was required to extend C Drive.
That is when I noticed the option to “Extend C Drive Volume” is disabled in Windows 10.
If you are facing this error, you need not worry. This article will guide you to re-enable Extend Volume option for the C drive or any other disk partitions.
After that, you can easily extend the C drive and add install new software without any hassle.
Fix Extend Volume Option Greyed Out
There are mainly 2 methods to fix the issue depending on the partition next to the C drive, available space, and unallocated memory.
You can enable the option by getting unallocated space next to C drive. So we will discuss how can we do it.
Method 1: By Freeing Up Space Next to C Drive
You see, one of the reasons why the extend volume option is greyed out is because there is no free or unallocated space after the C drive partition. You can check this out simply by:
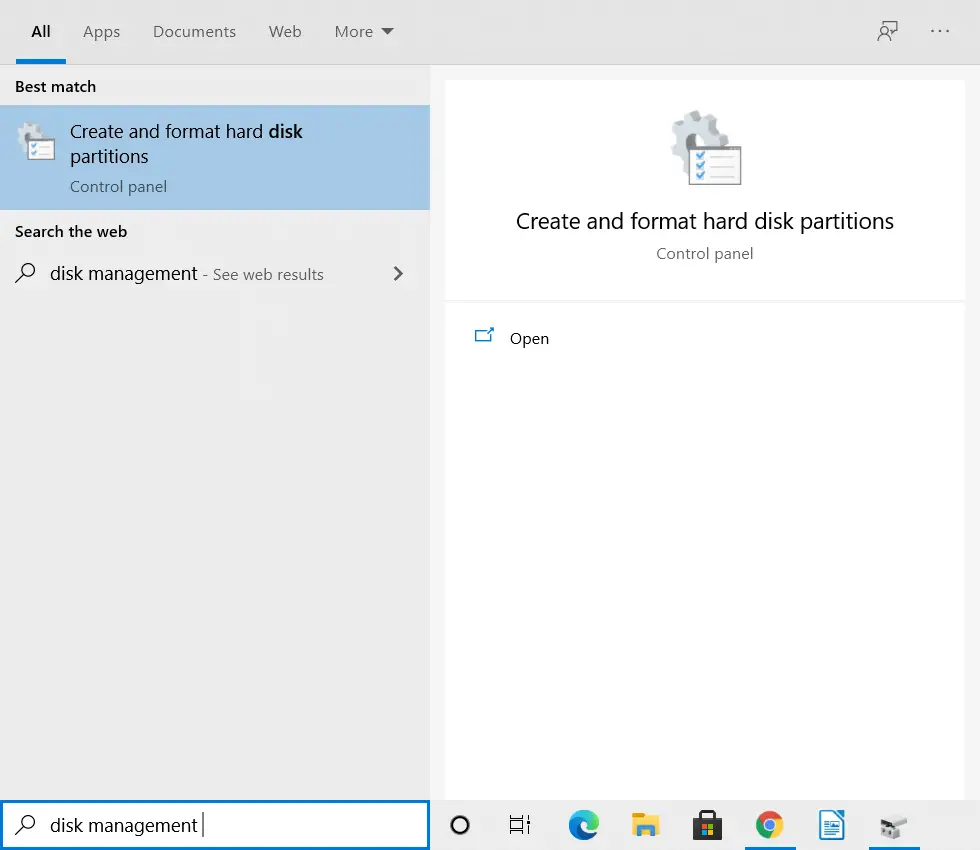
Step 1: Go to the Windows Search bar, type “Disk Management” and hit enter.
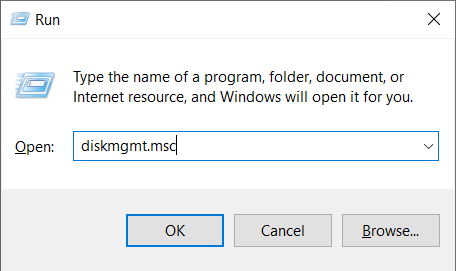
Alternatively, you can also open Disk Management by using Run.
Press the “Windows+R” key, and hit enter. Type “diskmgmt.msc” and hit enter again.
Step 2: As you can see, when I right-click on the C drive, the ‘Extend volume’ option is greyed out.
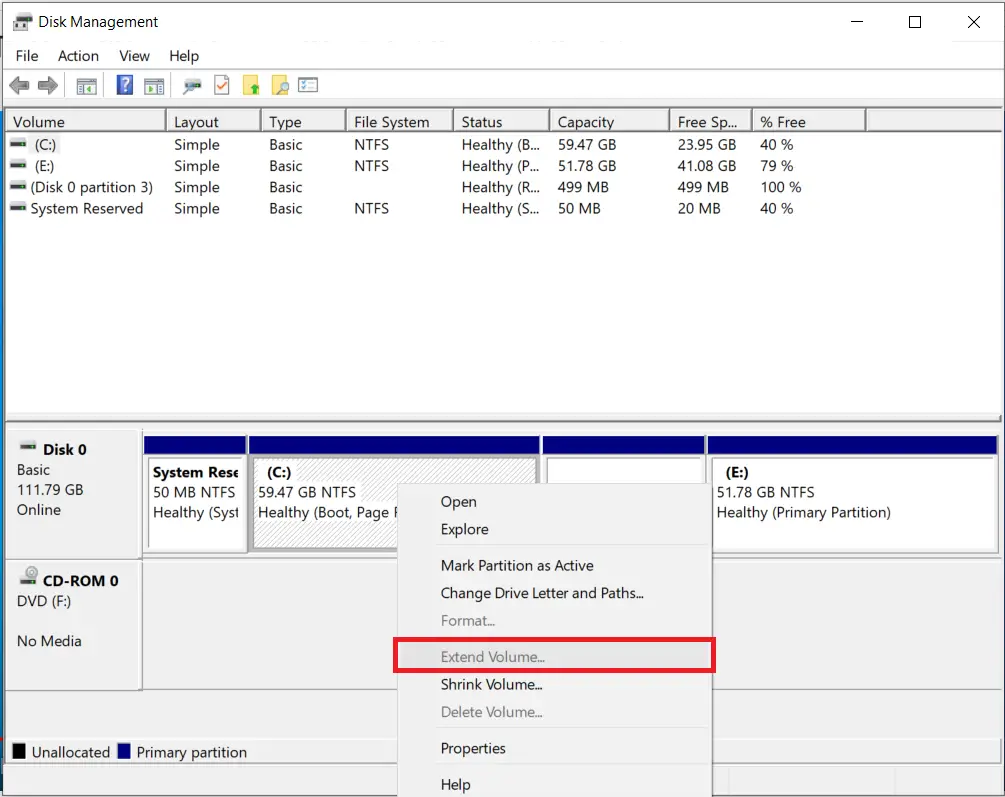
This is because there is no unallocated space right next to the C drive.
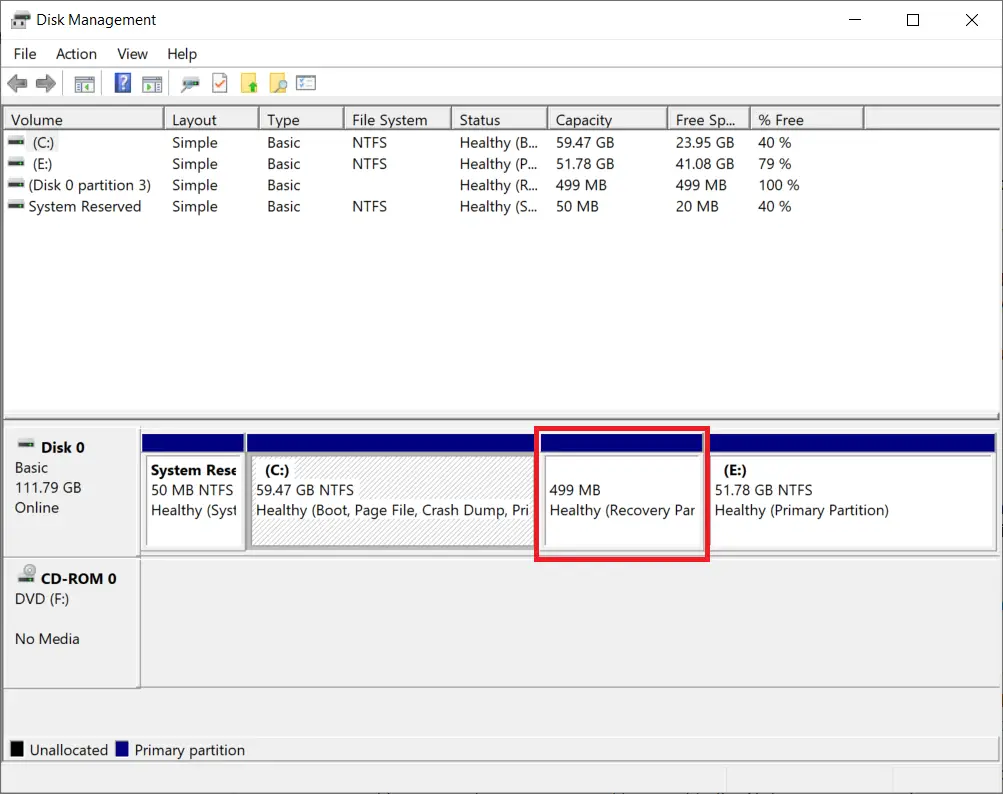
In order to extend the C drive, you must create have unallocated space next to the C drive.
You can do this by creating an unallocated space next to the C drive. Although, I would not recommend it. As you can see that there is a system recovery partition right next to the C drive. It is never recommended to delete the system recovery partition.
Now you might have a different scenario based on your computer. However, in case you do not have a system recovery partition next to the C drive, you can make some unallocated space. Here is how:
Before doing this step, make sure to backup your data from the drive that you are going to format.
Creating Free Space
Step 1: Open disk management, and click on the partition next to the C drive(not the system recovery partition).
Step 2: Right-click on it and select ‘Delete volume’. (Delete only if it does now contain your data, or move the files to another partition and delete)
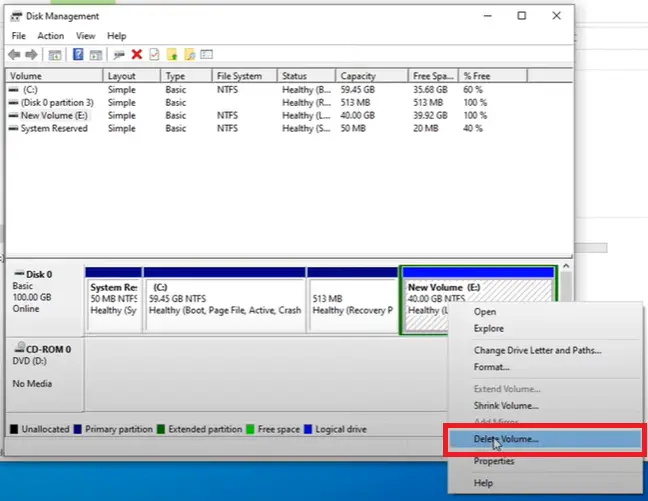
Step 3: Click on ‘Yes’ on the warning message.
Step 4: Now you can see that the partition has free space. Again right-click on it.
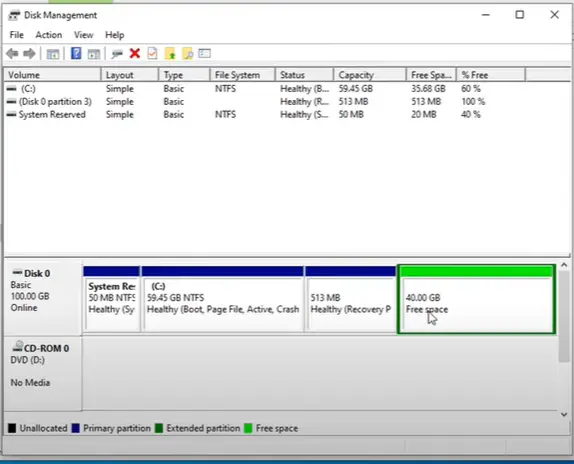
Step 5: Finally, click on ‘Delete partition’ once again.

You can now extend the C drive if you have just emptied some unallocated space right next to the C drive. After this, you will not get extend volume option greyed out issue.
You will now have free unallocated space next to the C drive. Although, I do recommend that you should not delete the system recovery partition. If you still wish to do it, here is how:
Deleting System Recovery Partition
This is not recommended but if you don’t want to keep Recovery Partition then you can delete it too. And then merge it with C drive.
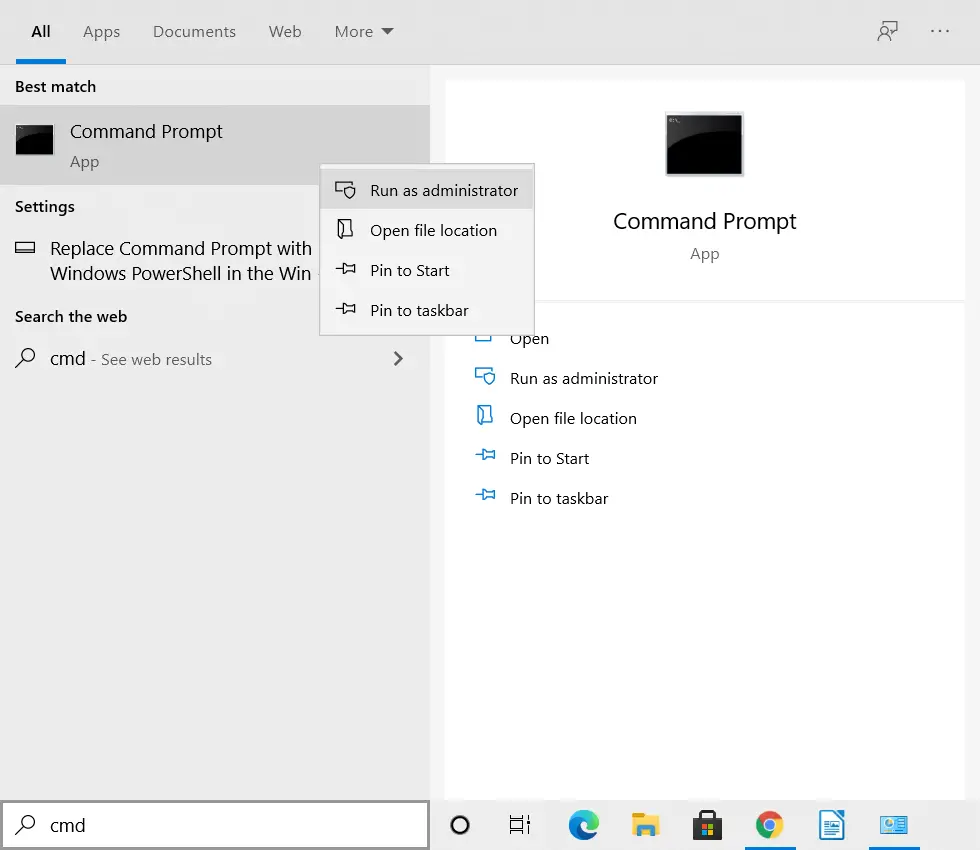
Step 1: Go to the Windows search bar, type “cmd”, and right-click to ‘Run as administrator‘.
Step 2: Now enter the following commands one by one by pressing enter after each command:
Diskpartlist diskselect disk disk_number [Enter the Disk Number]list partition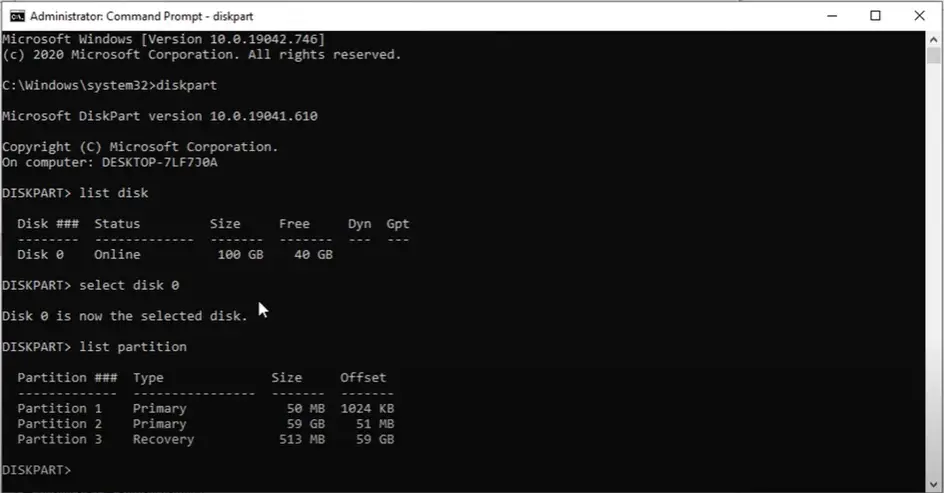
Step 3: Select the recovery partition by typing the following command:
select partition_number [Enter the partition number for recovery partition]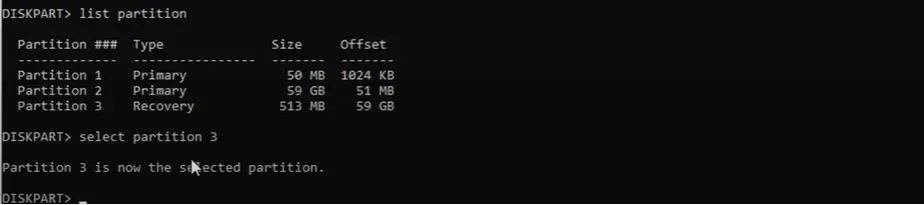
which is “select partition 3” in my case as it is my recovery partition.
Step 4: You can delete the partition by typing the following command:
delete partition_number overrideWhich is “delete partition 3 override” in my case.
That’s it and the command prompt will now delete the system recovery partition. You can then extend the C drive without any issues on any computer. However, this is not something you should do. So be advised.
Method 2: Extend C drive Using a Third-Party Software
The problem with Windows disk management is that it does not comes with a lot of features. If you want to fix extend volume option greyed out problem in Windows 10/8.1 and Windows 11, then it’s better to use third-party software.
Our team recommends AOMEI Partition Assistant to extend the C drive without any issues. Here is how you can extend the C drive with AOMEI Partition Assistant.

Step 1: Go to AOMEI’s official site.
Step 2: Download and install the software on your computer.
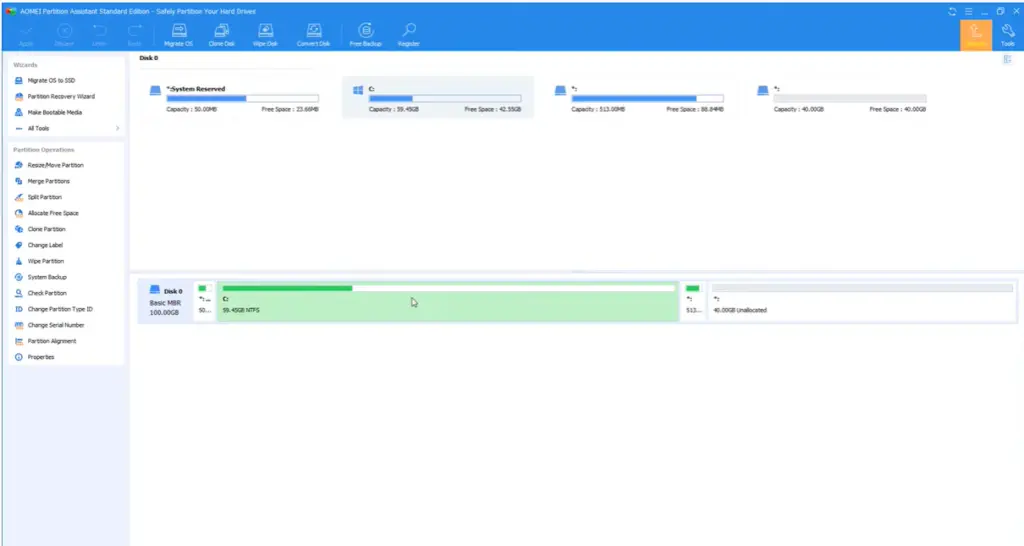
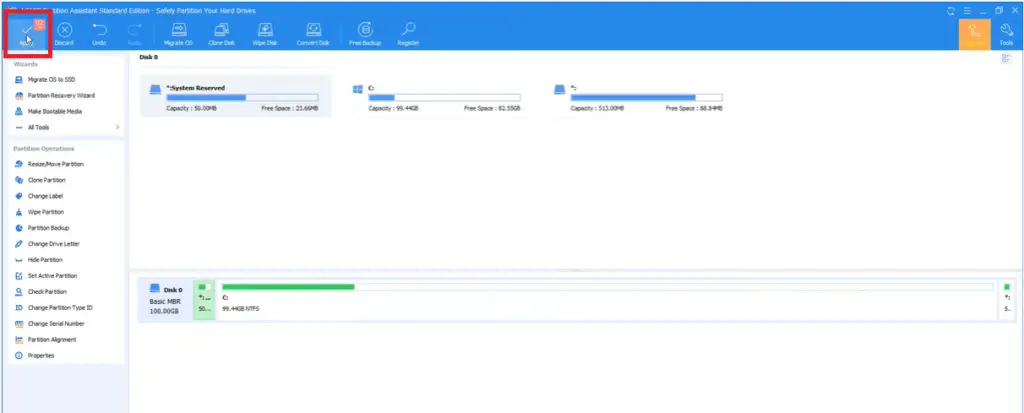
Step 3: Launch the software and you will see all your drives listed there.
As I have created some empty space in the previous method, you can see the unallocated space.
Step 4: If you already have unallocated space on your drive, you can merge the C drive with the unallocated space.
Step 5: Right-click on the C drive and then click on ‘Merge partitions’.

Step 6: Select the unallocated space by checking on the box.
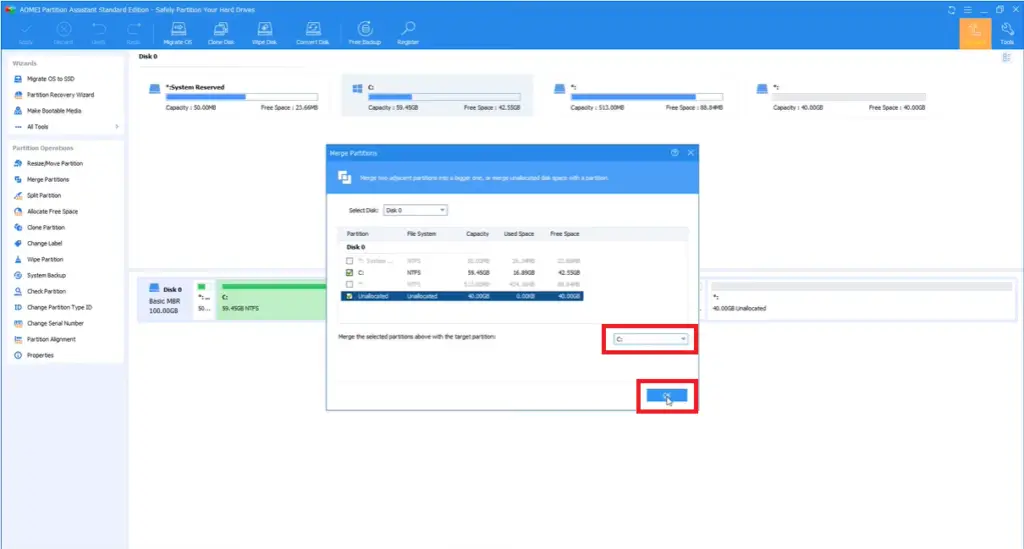
Step 7: Make sure the target drive is C and click on OK.
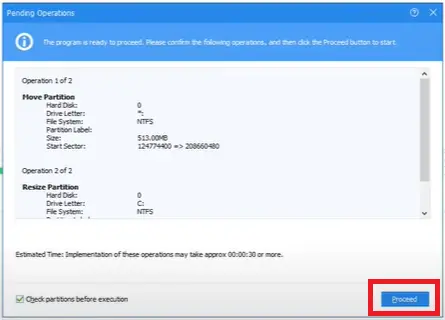
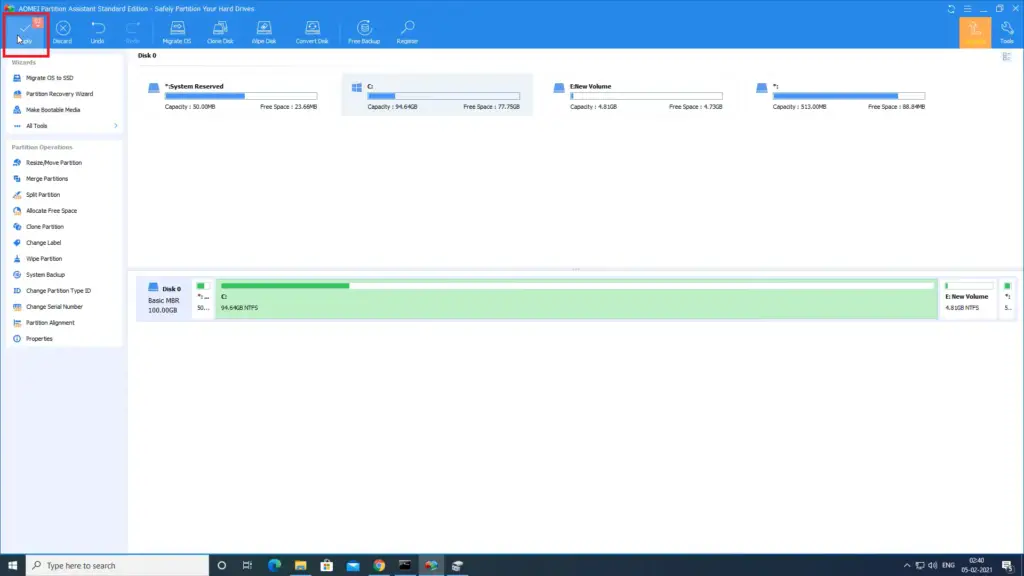
Step 8: Click on the ‘Apply’ option from the top-left corner.
Step 9: In the new menu, click on ‘Proceed’. Click on Yes to confirm.
Let the process complete and then restart your computer.
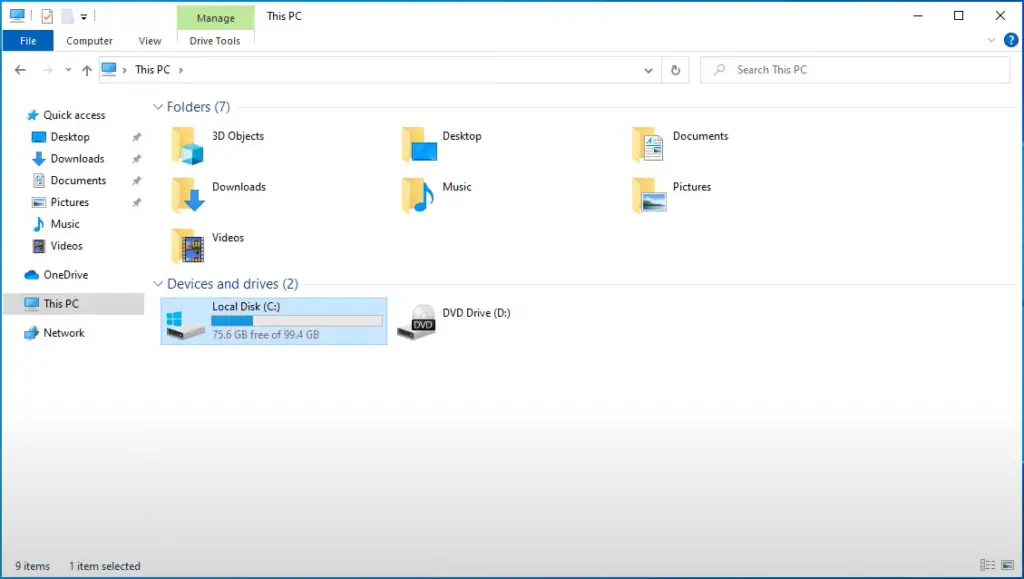
You will now see that the C drive is extended.
Extend C Drive By Using Free Space from Other Partitions
There may be a case if you don’t have unallocated space but some space available in other partitions. You can use that extra space to extend C drive.
This software will help you to use that extra space to merge it with the C drive. (Or any other partition, C drive is an example in this article).
Step 1: Launch the software.
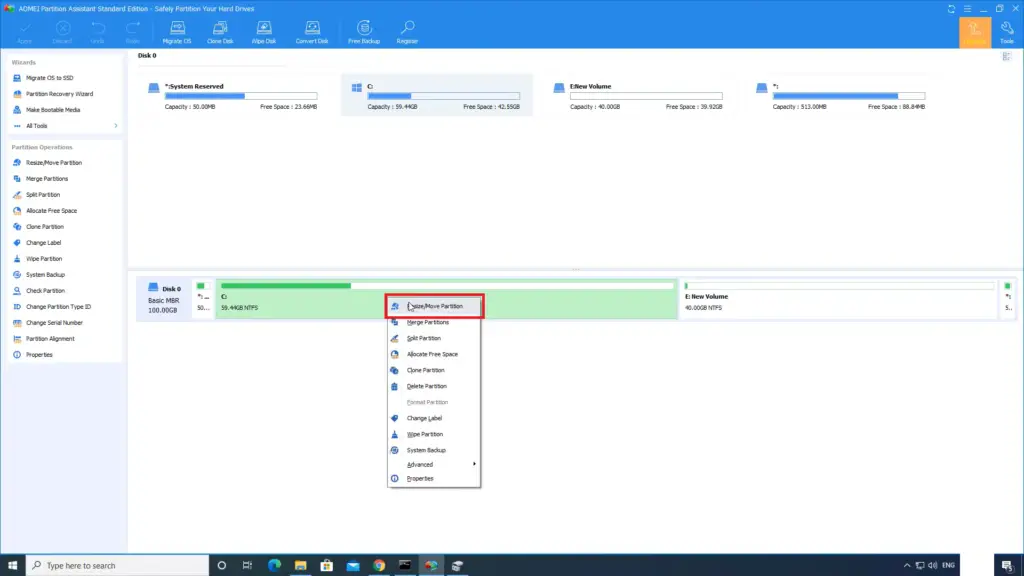
Step 2: Right-click on the C drive, and select ‘Resize/Move partition’.
Step 3: Check the option reading ‘Assign free space from partition’ and from the drop-down menu, select the drive from which you want to use the free space.
Step 4: Use the slider to resize the C drive. Drag the slider to the right and click on OK.

Step 5: Click on the ‘Apply’ option from the top-left corner.
Step 6: In the new menu, click on ‘Proceed’. Click on Yes to confirm.
Let the process complete and then restart your computer.
Restart your computer and that’s how you can easily extend the C drive and fix extend volume option greyed out issue in Windows 10.

Closing Phrase
That was all about how you enable the “Extend Volume” option in Windows 10. Using the above methods you can fix the issue with other disk partitions as well. The basic idea is to create some unallocated space next to the target partition first OR use a third-party partition manager tool. Using the third-party tool, you can then easily merge the partitions.
Also, Read: