In short, a NANDroid backup is akin to System Restore in Windows. Of course, people may assume that the concept is just the same but there’s a peculiarity.
A Nandroid backup TWRP comes with the same usage designation as a system restore. However, instead of Windows OS, it’s on Android.
Before you decide on a nandroid backup location, you need a TWRP custom recovery on your Android device.
Why should you do a NANDroid backup on Android?
The benefits of a Nandroid backup are numerous.
It is widely acknowledged based on several testimonials from users with this privilege on their phones.
Your device’s internal memory is easily destructible.
Thus, it is imperative to find third-party methods to perform a separate backup.
These options include saving data on a cloud service or moving files to your computer via a USB cable/PC Suite.
Nandroid Backup TWRP is better
Alternatively, if you want to skip these options and find a better way out, having a Nandroid backup is the right solution that will save your day!
Once created, it allows you to even restore from the backup to retrieve any lost data.
But first, you’ll need to install TWRP custom recovery before starting the next steps listed below. So, let’s get to it!
How to Create Nandroid Backup TWRP?
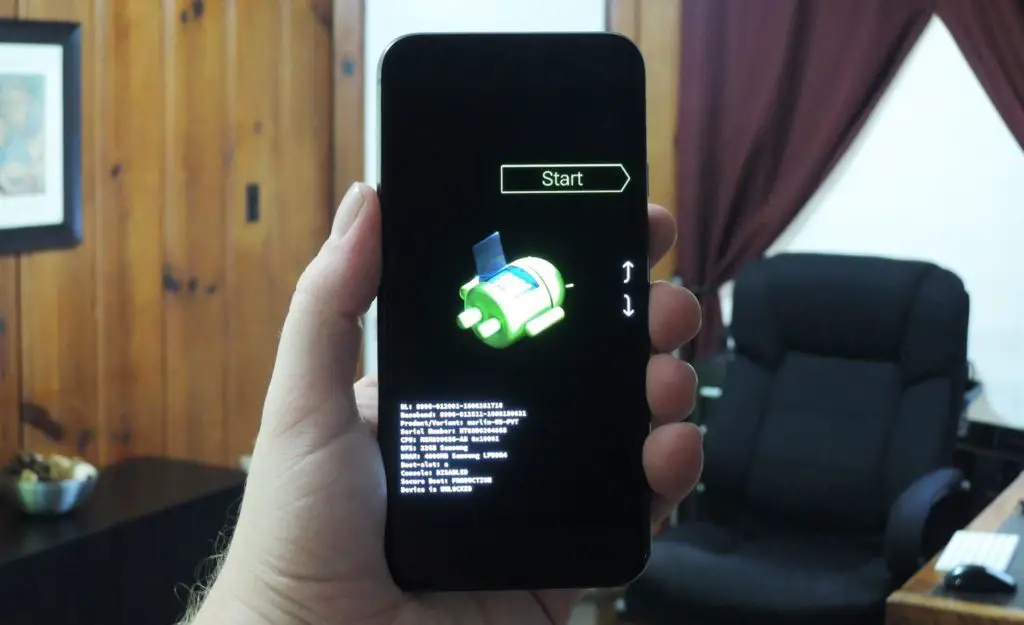
Initially, you need to access the device bootloader to boot into TWRP recovery.
Thereafter, you will be able to create Nandroid backup.
To unlock the bootloader on any Android device, the procedure is just the same.
- Switch off your phone altogether.
- Then press and hold down the volume down key and power button simultaneously.
- Cease pressing them only when the bootloader appears.
- When Android’s bootloader is displayed to greet you, use the volume key to navigate to the “Recovery Mode” selection.
- If installed correctly, you should now see the TWRP interface.
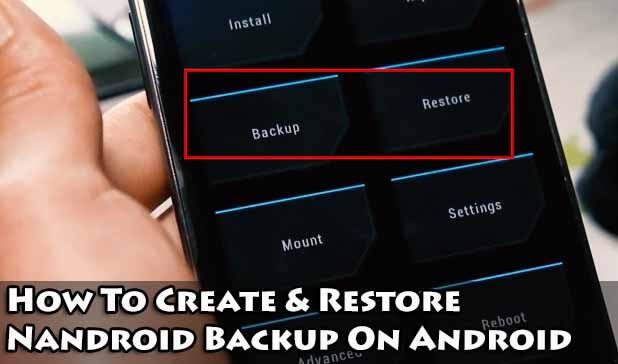
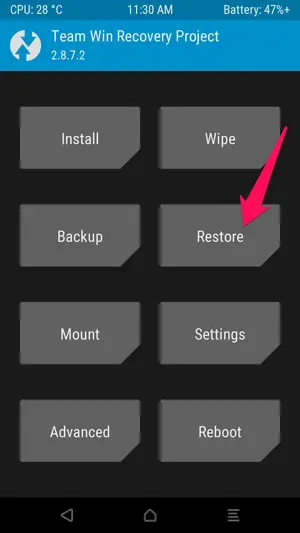
- Tap on Backup.
- Under Backup, there are three options- System, Boot, and Data.
- Then at the bottom, simply swipe to confirm.
- Now, wait for Android to complete the backup.
- Finally, select Reboot System.

Well done! Without breaking a sweat you have successfully created a ‘restore point’ for your Android using TWRP.
How to Restore Nandroid Backup TWRP?
Nandroid backups are something extraordinary. It saves millions of Android users from having a stroke.
Nandroid backup TWRP is reliable 99% of the time. Therefore, it is an effective resource to depend on.
But how about restoring from a Nandroid backup? Isn’t that as much a priority? Of course, it is!
How to easily restore a previous nandroid backup?
- Get back to TWRP custom recovery using the same set of key combinations from before.
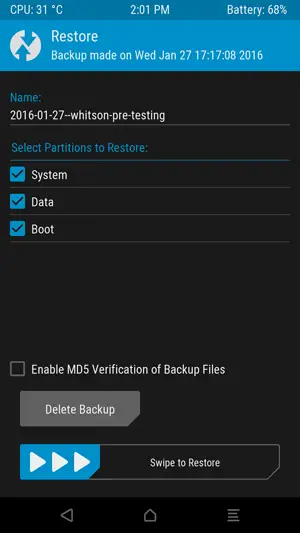
- In the TWRP interface, tap the Restore button.
- Navigate to the Nandroid backup location of the most recent backup.
- By default, you will find previously created backups over here.
- Then leave everything else as is, and Swipe to confirm these changes.
- After the restore, you need to tap on the Reboot System button.
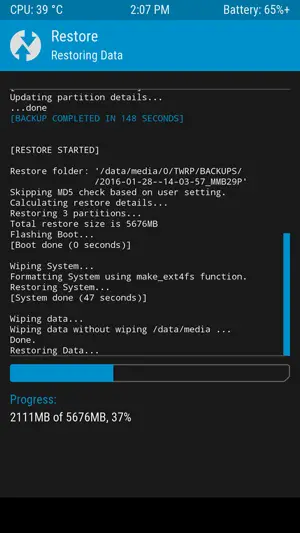
Thereafter, your Android will be back to the way it was when you first created this backup.
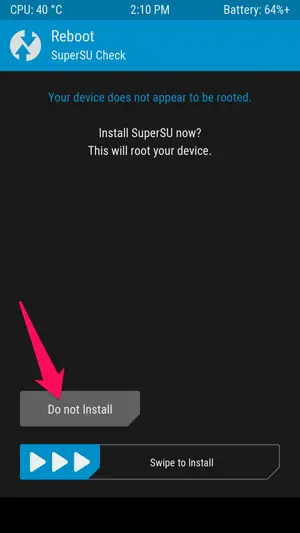
NOTE: Select Do not Install if TWRP asks you to root your phone using SuperSU.
Nandroid backup is not a complex process. Even though you may need to install TWRP successfully, but it is rewarding in the end.
Also Read :